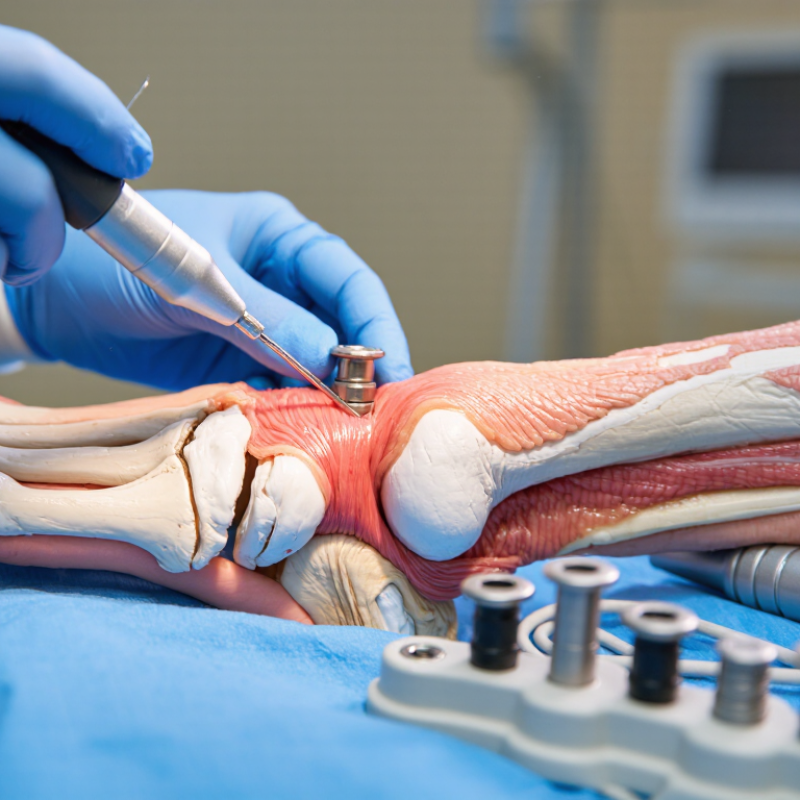
| 1 | Match the Anchor to the Indication | Define the structure being repaired, the quality of the local bone, the expected load, and whether the repair is soft-tissue-to-bone or ligament-to-bone. | Common ankle applications include lateral ligament repair or reconstruction, deltoid ligament repair, syndesmotic stabilization, Achilles-region procedures, and tendon or retinacular fixation. Small anchors are often considered for confined anatomy, while larger or stronger constructs may be selected when greater fixation strength is required. | Confirm that the implant size and fixation method are appropriate for the target bone and do not interfere with nearby joints, tendons, nerves, or vessels. |
| 2 | Compare Implant Materials | Evaluate whether a metallic, radiolucent polymer, or bioabsorbable implant is suitable for the procedure and the patient’s follow-up needs. | Titanium and other metals provide durable fixation but can create imaging artifacts. PEEK and similar radiolucent polymers reduce metallic artifact. Bioabsorbable polymers are designed to gradually resorb, although the timing and local tissue response depend on the material and formulation. | Review the potential for inflammatory response, cystic change, breakage, migration, or incomplete resorption where applicable. Material selection should not replace assessment of bone quality and construct stability. |
| 3 | Assess Suture Configuration | Check the number of sutures, suture strength, strand configuration, eyelet design, and whether the system supports knot tying or knotless fixation. | Knotless anchors can simplify tension management and reduce external knots. Knotted anchors may provide familiar control over tissue approximation. Braided high-strength sutures are commonly used for ligament and tendon fixation, but the final construct also depends on tissue quality, stitch pattern, and loading direction. | Avoid excessive tension that can strangulate tissue or alter the intended ankle biomechanics. Ensure that the suture path does not abrade adjacent structures. |
| 4 | Review the Delivery System | Examine the drill guide, punch or awl, drill bit, inserter, depth markings, handle design, and compatibility between the delivery instruments and the selected anchor. | A guide can help control the entry point and trajectory, especially in small ankle bones. The system should permit controlled pilot-hole preparation, clear depth feedback, and reliable seating of the anchor without excessive force or instrument bending. | Use the recommended instruments and sequence. Confirm that the guide is fully seated and that the pilot hole is not over-drilled, enlarged, or directed toward the articular surface. |
| 5 | Verify Surgical Technique | Review exposure, tissue preparation, pilot-hole creation, anchor insertion, suture passage, tensioning, and final knot or locking steps. | A typical workflow includes identifying the repair footprint, preparing only the necessary bone surface, placing the guide at the planned site, creating the pilot hole to the specified depth, inserting the anchor along the prepared trajectory, and securing the tissue with the planned stitch configuration. | Preserve viable tissue and avoid unnecessary bone removal. If the pilot hole is compromised, do not force the same anchor into poor fixation; consider an approved alternative site or fixation strategy. |
| 6 | Plan Implant Placement | Select the entry point, insertion angle, depth, and number of anchors according to the native footprint and the desired line of pull. | Placement should recreate the anatomic origin or insertion as closely as practical while maintaining safe margins from the ankle, subtalar, and distal tibiofibular joints. Anchor orientation should support the expected load rather than simply follow the easiest access route. | Avoid intra-articular penetration, cortical blowout, tendon obstruction, and conflict between multiple anchors. Confirm secure seating and stable tissue contact before closure. |
| 7 | Evaluate Evidence, Follow-Up, and Compatibility | Review published clinical evidence, mechanical testing, instructions for use, imaging compatibility, postoperative protocols, and the surgeon’s experience with the system. | Useful documentation includes pullout or cyclic-loading data, indications and contraindications, recommended drill dimensions, insertion depth, MRI conditions, and rehabilitation guidance. No mechanical test result alone predicts clinical performance in every patient. | Check patient-specific factors such as bone quality, infection risk, allergy or material sensitivity, revision status, and compliance with protected weight-bearing or rehabilitation instructions. |