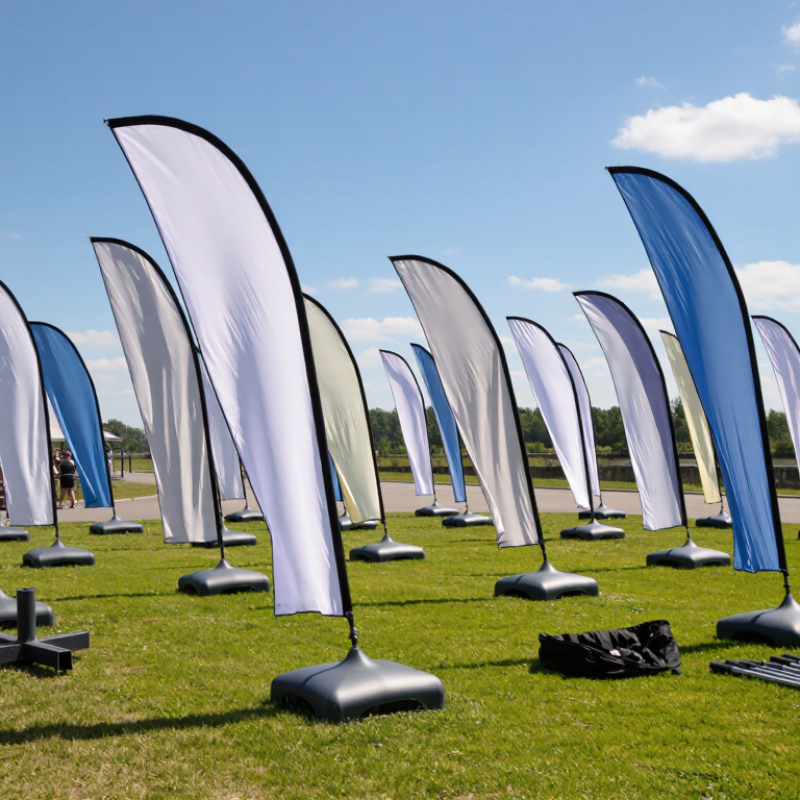
| Overall shape | A narrow flag with a rounded top and a tapered lower section, shaped by a curved support pole. | The curved pole keeps the fabric extended and helps the banner retain its recognizable teardrop outline. | Slide the pole into the fabric sleeve or pockets according to the banner’s design. |
| Common height options | Portable models are commonly sold in approximate heights of 8, 10, or 12 feet, measured from the ground to the top of the assembled flag. | The selected size affects visibility, transport, and the amount of space needed for setup. | Check the product’s assembled height and clearance requirements before choosing a location. |
| Printed fabric | Outdoor flags are often made from lightweight polyester. Fabric weight and construction vary by supplier and intended use. | Lightweight fabric can move in the breeze while the printed design remains supported by the pole. | Insert the pole without twisting or snagging the fabric; follow care instructions when cleaning or storing it. |
| Graphic layout | Designs are arranged within the curved, tapered printable area. Important wording is generally kept away from seams and edges. | The shape draws attention vertically, but the narrow profile limits the amount of text that can be read at a distance. | Use concise wording and high-contrast artwork; confirm the supplied template and safe area before printing. |
| Flexible pole | A segmented pole, commonly made from fiberglass, supports the flag. Some designs combine fiberglass sections with other materials. | The pole bends to create tension along the fabric sleeve, helping the flag stay open in light wind. | Connect the pole sections in order, then gently flex the assembled pole into the fabric sleeve. |
| Pole sleeve or pockets | A sewn sleeve or a series of fabric pockets runs along the curved edge of the flag. | This feature guides and holds the pole so the fabric follows its shape. | Feed the pole through the sleeve or into each pocket, keeping the fabric untwisted. |
| Base | Base options can include ground spikes, cross bases, or weighted bases. The appropriate type depends on the surface and conditions. | The base anchors the pole and helps keep the banner upright. | Place the base on a suitable surface and secure it as directed. Use additional weight or a different base when recommended for the setting. |
| Rotating connector | Some base assemblies include a rotating fitting between the pole and the base. | The fitting allows the banner to turn with changing wind direction, which can reduce fabric strain. | Attach the pole to the connector and check that it can rotate freely before use. |
| Basic assembly sequence | Connect pole sections, position the base, fit the flag onto the pole, and secure the pole to the base. | Correct assembly creates tension in the flag and keeps the support stable. | Follow the supplied instructions; avoid forcing a pole section or bending it beyond its intended curve. |
| Wind and care | Teardrop banners are portable display products, not permanent structures. Performance depends on the banner, base, and weather. | Strong or gusty wind can stress the fabric, pole, and base even when the banner is properly assembled. | Take the banner down in unsuitable weather, inspect parts regularly, and store the fabric dry. |