7 Tips for Indoor Trampoline Park Design and Manufacturing
Designing an indoor trampoline park is not simply a matter of covering a large room with springs, mats, and bright colors. Indoor Trampoline Park Design Manufacturing connects architectural planning, structural engineering, visitor psychology, production control, and daily maintenance. Every choice matters, from the width of a landing zone to the softness of a wall pad. A crowded entrance can create confusion. A poorly placed beam can interrupt supervision.
Michael Browning Jr., founder of Urban Air Adventure Park, has emphasized, “Safety is our number one priority.” That principle should guide the entire process, not appear only in a final inspection report. Designers need to study circulation, age separation, emergency access, ventilation, lighting, and staff sightlines before fabrication begins. Manufacturers must also control welding quality, foam density, fabric strength, and dimensional accuracy. Small deviations may become costly when hundreds of visitors use the equipment every day.
Experience teaches an uncomfortable lesson. Perfect drawings do not guarantee perfect operations. A landing mat can shift. A camera can miss a corner. Staff can become distracted during busy hours. Good design anticipates these weaknesses through layered protection, clear procedures, durable materials, and scheduled inspections. It also respects accessibility and applicable local safety requirements.
The following seven tips examine practical decisions across design and manufacturing. They focus on safer movement, reliable equipment, efficient installation, and memorable experiences. Some ideas may seem obvious. They are still easy to overlook. That is where thoughtful review becomes valuable.
Define the Park’s Purpose, Audience, and Available Space
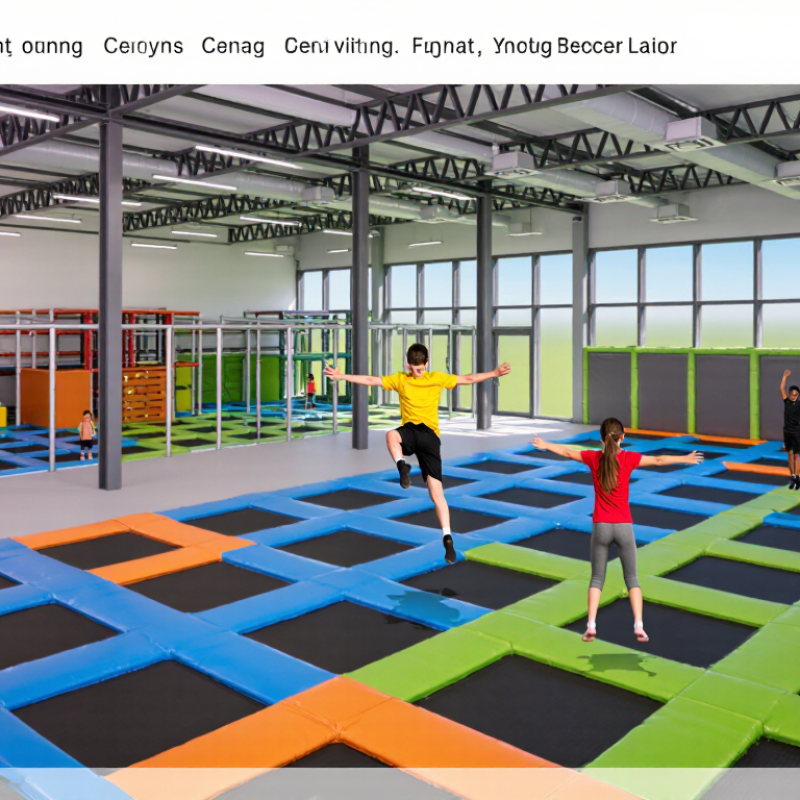
Tip 1: Define the park’s purpose before selecting equipment. A family recreation center needs gentle zones, visible seating, and simple circulation. A training-focused venue may require larger jumping areas, foam pits, and skill-based obstacles. Mixing every attraction can weaken the visitor experience. The plan should answer one practical question: what should guests do here?
Tip 2: Identify the primary audience with evidence, not assumptions. Measure expected age groups, group sizes, visit times, and supervision needs. Toddlers require separated, low-impact spaces. Teenagers often seek challenges and social areas. Adults may value fitness features and comfortable waiting zones. Operators should test the layout with staff, parents, and children before manufacturing begins. Their feedback may expose blind spots.
Tip 3: Treat available space as a design constraint, not an afterthought. Record ceiling height, columns, entrances, emergency routes, storage, and service access. Leave clear sightlines from staffed positions. A crowded floor may look exciting but can create confusion and poor supervision. Keep circulation wide enough for steady movement. Local building, fire, accessibility, and equipment requirements must guide final decisions.
Do not fill every square meter. A small unused area can support maintenance, recovery, or future changes. Flexible barriers and modular components may reduce costly rebuilding. Still, flexibility has limits. Weak zoning can make the park feel unfinished, even when every attraction is technically usable.
Indoor Trampoline Park Space Allocation
For a hypothetical 1,000 m² indoor trampoline park, the layout prioritizes active play areas while reserving space for circulation, supervision, guest services, and essential support functions.
Planning insight: Allocate approximately 45% of the floor area to trampoline and activity zones, while maintaining dedicated circulation and safety space to support smooth visitor flow and effective supervision.
Integrate Engaging Attractions with Accessible Design
7 Tips for Indoor Trampoline Park Design and Manufacturing
Tip 1: Design access before choosing attractions. Create wide, level routes from the entrance to reception, lockers, courts, seating, and restrooms. Keep turning spaces clear for wheelchairs and mobility aids. Use high-contrast signs with simple words and recognizable symbols. A clear route feels safer than an impressive entrance.
Tip 2: Build attractions for different abilities. Include low-impact zones, transfer-friendly platforms, stable handrails, and quiet recovery areas. Adjustable lighting can support visitors with sensory sensitivities. Soft sound levels matter, too. Some guests need excitement; others need control. Tip 3: Test every feature with real users. Invite wheelchair users, children, older adults, and caregivers during prototype reviews. Watch how they move, wait, rest, and understand instructions. Designers may miss small barriers, such as a heavy gate or a bench placed too far away. That gap deserves attention.
Tip 4: Make safety information visible and practical. Use floor markings, multilingual instructions, and trained staff who explain rules calmly. Manufacturing details also matter. Check padding seams, anchor points, surface transitions, and cleaning access during quality inspections. Tip 5: Plan for imperfect behavior. Guests may enter the wrong zone or lose balance near an edge. Add gentle barriers, clear sightlines, and staff observation points. A promising layout may still feel crowded during peak hours. Measure it, revise it, and do not treat the first drawing as final.